Level: Easy
Benefits: Improves posture and reduces flat feet.
Cautions: Dizziness
How To
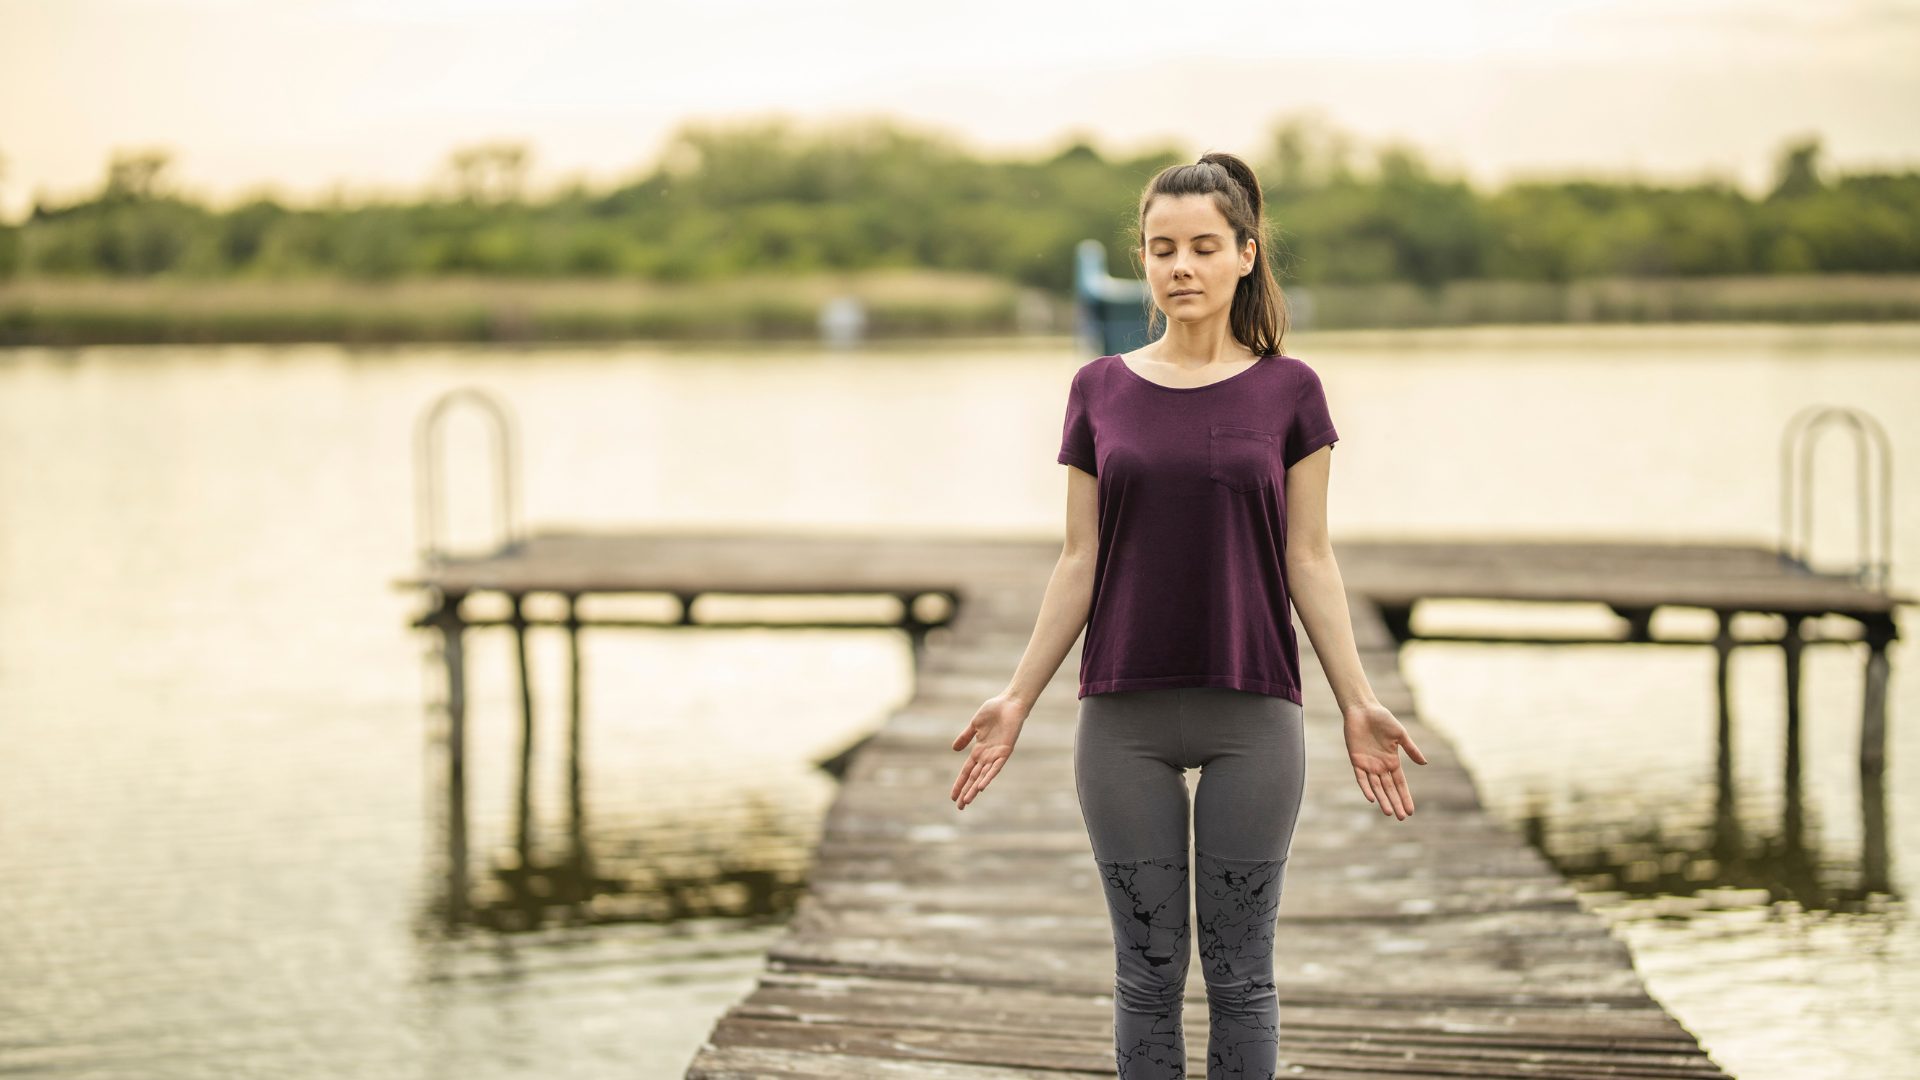
- Stand with your feet together or hip distance apart. There are three points on the feet to distribute the weight amongst – the base of the big toe, the base of the little toe and the heel. Spread the weight evenly through these three points.
- Lift up your inner and outer thighs and lengthen through the back of your knees.
- Soften your lower back by having a neutral pelvic tilt with firmness in the lower abdomen.
- Lengthen your spine and broaden through the front and back ribs without raising the shoulders.
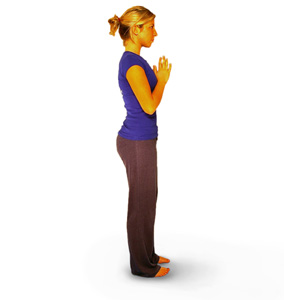
- Lengthen your neck and keep your chin level to the floor. The tips of your ears should line up with the centre of your shoulders, hips and ankles. (this stops you from thrusting your chin forward and keeps the back of the neck and throat soft)
- Lengthen your arms and reach through your fingertips towards the floor with your thumbs facing forward.
- Allow your face to soften and relax.
- Stay in pose for 5-10 breaths.
Modifications
- You can check your alignment with your back up against the wall. Stand with your heels, sacrum, and shoulder blades (but not the back of your head) touching the wall.
- Stretch the arms upwards, towards the ceiling.
- Interlock the fingers, extend your arms in front of your chest, turn the palms out then stretch the arms upward so the palms face the ceiling.
- Cross the arms behind the back holding onto each elbow. Cross them the other way and repeat for same amount of breaths.
- You can challenge yourself by closing your eyes and learning to balance.