With Indian Head Massage a feature workshop at our Free Yoga Day on March 14 we thought it wise to make a step by step guide available to you. Any one who has had an Indian Head Massage before will tell you how great it feels, so if you missed Free Yoga Day or if you were there and want to read more about Indian Head Massage, here you go!
Indian Head Massage has been practiced for thousands of years by Indian women and the techniques are passed down within families, however the results are all pretty much the same: not only can you literally feel tension melting away from your head, scalp, face, neck, shoulders and back but there is an increase in the circulation of blood, oxygen and chi through these areas. Improving the quality of your hair and delaying premature greying makes Indian Head Massage a unique healing methodology. It is great for headaches, muscular stiffness, dullness and heaviness in the head, detoxification and insomnia. This very simple massage technique is rewarding to give and even better to receive.
Indian Head Massage can be performed with or without oil and is easily given with the recipient seated in a chair, fully clothed. It is perfect while at work or after long hours sitting in front of a computer. However it is always best to seek medical advice before commencing a new health care regime and if you have any concerns, injuries or pain speak with your doctor first.
Step One: Connecting
Place your hands on the shoulders.
Spend a moment breathing, relaxing and in the present. Giving a massage is a great opportunity to help another person unwind, but make sure you are nice and relaxed as this will rub off.
Step Two: Massaging the Shoulders
Squeeze the trapezius muscle (the muscle on top of the shoulders) gently. Gently shake the muscle back and forth, moving your left and right hands in the opposite directions.
Place your thumbs in a wide V shape and move them up and across the trapezius muscle, fanning up and outwards towards the little finger, then ring, middle and index fingers. Repeat three times to each finger.
Take hold of the bulk of the trapezius muscle between your thumb and fingers. Lift and squeeze the muscles in an upward motion with the heel of your hands and fingers. Repeat three times.
Step Three: Massaging the Neck
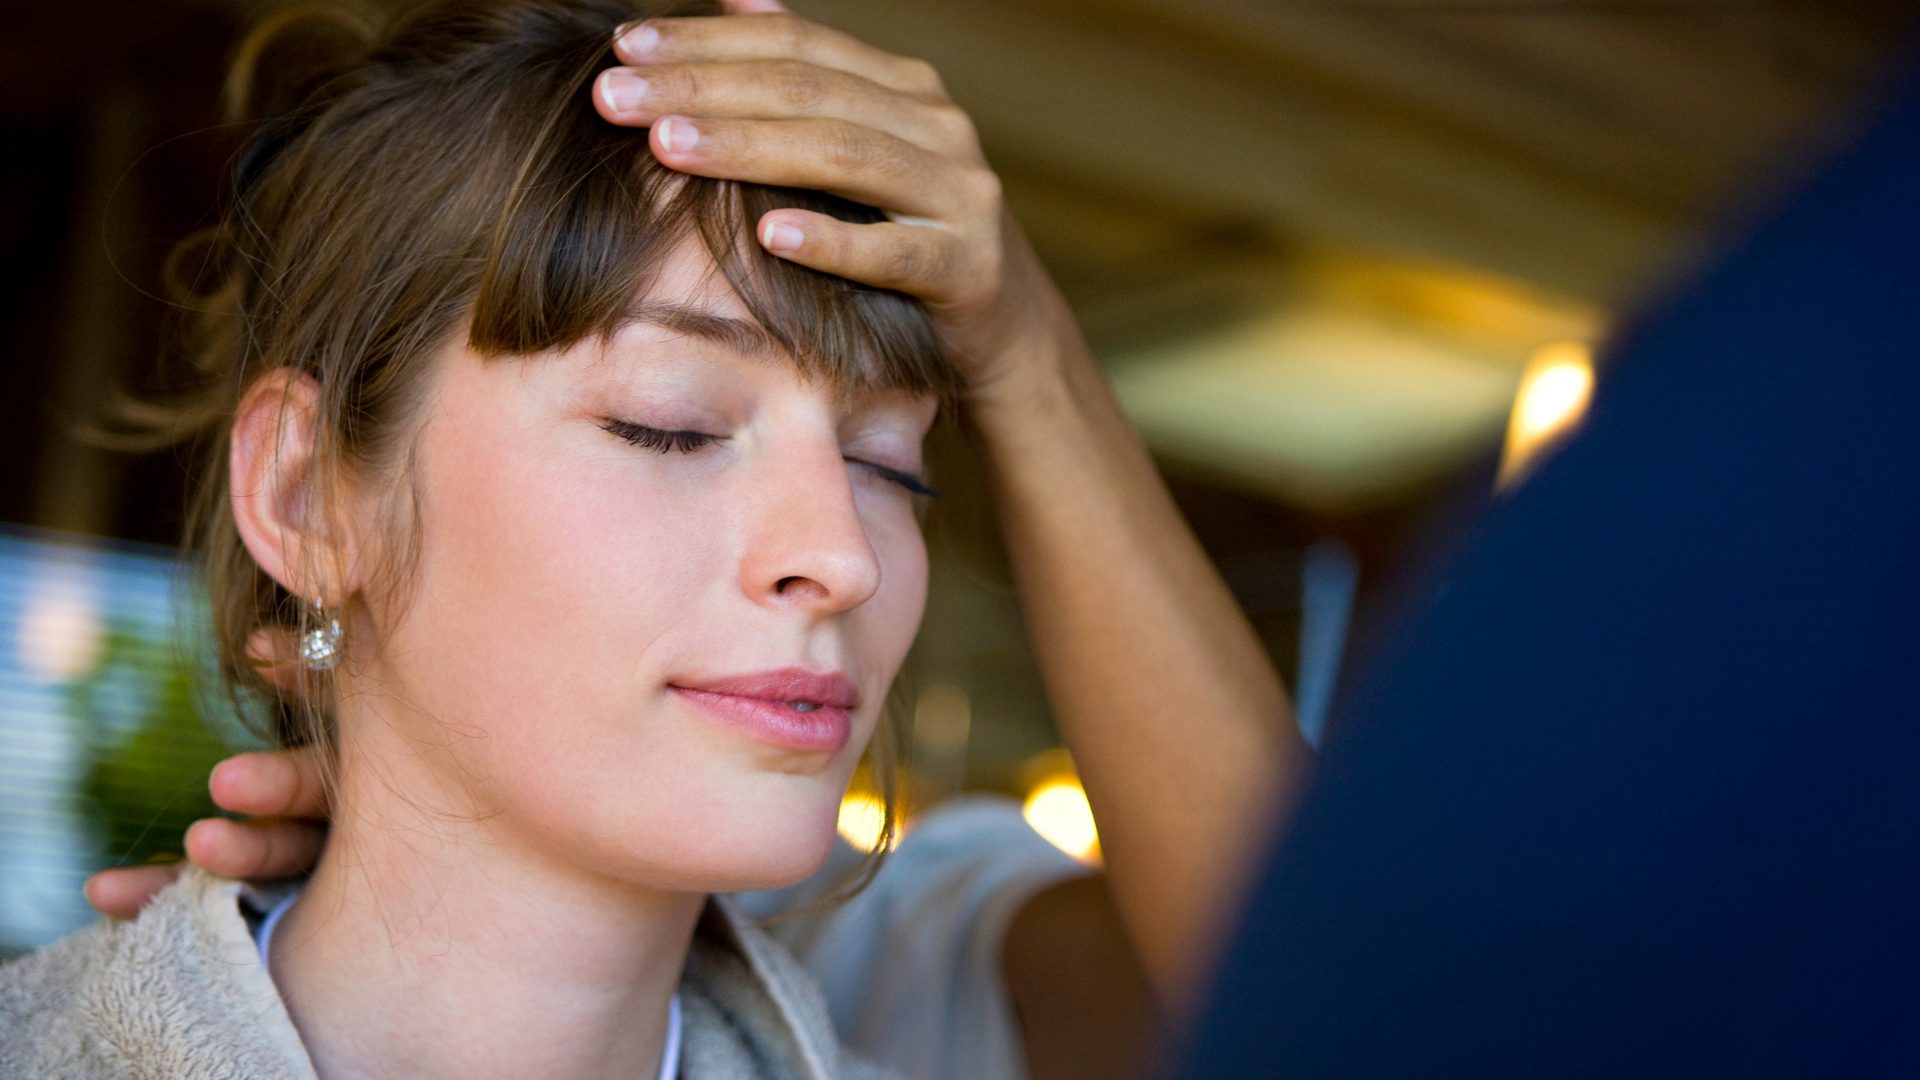
When working on the neck always support the head. Place one hand on the forehead and with firm pressure slide up and down either side of their cervical spine (neck). You will feel warmth building, this helps to relax and loosen the muscle fibres.
On both sides of the cervical spine make little circular motions with your index and middle fingers.
Step Four: Massaging the Scalp
Place the fleshy part of your palms above the ears and gently squeeze. Release that pressure without releasing the head. Repeat a few times.
Support one side of the head. Make back and forth motions with your palm over one side of their head. Use the fleshy part of your palm.
Repeat the step above using the pads of your fingers.
Relax your hand and make a wave like motion through their hair from the hairline on the forehead to the top of the neck.
Repeat the above sequence to the opposite side.
Support one side of the head and using your finger strength move up and down through the hair like a spider doing push-ups. Open your palm and slide your fingers over the scalp, apply pressure as you draw your fingers together. Keep changing directions to make this technique most effective. The movement looks similar to a spider opening and closing his legs. Repeat on the other side of the head.
Starting behind the ear, take a tuft of hair, keep your knuckles touching the scalp and gently pull. If you let your hand move off the scalp it will pull the hair too much and feel painful. Move all over the head.
Step Five: Massaging the Face
Support the head on you or a cushion and lean the head back. Using the pads of your index and middle fingers make circles on the temples, moving up and towards you. Work with your finger pressure.
Place both thumbs together between the eyebrows and thumb walk to the hairline. Repeat this three times.
Horizontally thumb walk from the centre of the forehead to the temples. Repeat three times making each one a little higher up.
Finger walk down the outside of the nose and slide up along the jaw line. Make circular motions with your index and middle fingers here.
Gently pinch along the chin, alternating between your right and left hand.
Squeeze the earlobes and gently stretch them towards the shoulders.
Walk up to the top of the ear and back down.
Step Six: Finishing the Massage
Finish on the shoulders, repeating a few of the shoulder techniques.
Squat behind and slowly slide your hands down the shoulders and arms a few times.
Finish the massage in a natural and relaxed way.
Tell them to take a few deep breaths and open their eyes and wake up when they are ready.
They should be left feeling relaxed, refreshed and rejuvenated, literally glowing and smiling. If you are lucky it might be your turn next.